Planks are such a popular exercise for one main reason: they are extremely effective. They strengthen your core as well as some supporting muscles in your upper and lower body. However for them to be effective they need to be done properly!
I previously wrote a blog about 5 common mistakes to look out for, which you can check out by clicking here.
These mistakes are important to be aware of, however there is still one problem. If you haven’t yet built up the strength to hold a full plank, it doesn’t matter if you know what you should be doing. If your body isn’t ready for it, it won’t happen. But don’t worry! There are modifications you can start with that make holding a plank more manageable and can get you ready for the full version.
One thing that all the variations have in common, is that while you are doing them, you will need to maintain an engaged core. If you aren’t sure how to do that, first check out my post about how to engage your core by clicking here.
4 Plank Variations
The variations are listed in order of difficulty, starting with the most gentle option, and ending with the most challenging. The one that is right for you is the one you can do while maintaining proper form. Mistakes are often made when trying to hold a version of a plank that is more challenging than you are ready for.
1. Plank With Hands on the Wall

- Stand facing a wall.
- Place palms on the wall at shoulder height with fingers pointing upward.
- Engage your core and step back, bringing your body into a straight line.
- Start by holding the plank for 20-30 seconds.
- Remember to Breathe.
Tip: The further back you step your feet, the more challenging it will be, so feel free to experiment to find a distance that works for you. Over time you can gradually build up to stepping further away, and eventually move on the the 2nd variation.
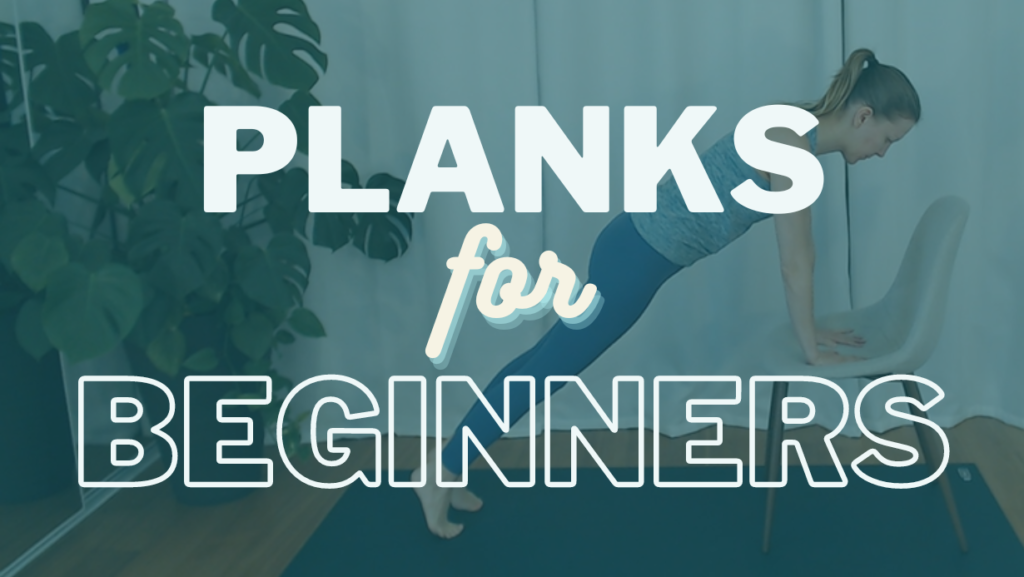
2. Plank With Hands on an Elevated Surface

Some examples of a surface you could use include a table or the seat of a chair. Make sure whatever you choose is stable, for example, if using a chair, either place it on a yoga mat so it won’t slide or push it up against a wall.
- Place your hands on the surface, fingers facing forward, and bring your shoulders in line over your wrists.
- Engage your core and step back, bringing your body into a straight line.
- Start by holding the plank for 20-30 seconds.
- Remember to Breathe.
Tip: The lower the surface is to the ground the more challenging it will be. Start with something higher, such as a table, and gradually build up to something lower, like the seat of a chair. Over time you can eventually move on the the 3rd variation.
3. Half Plank: Knees on the Ground
There are two ways you can come into a half plank.
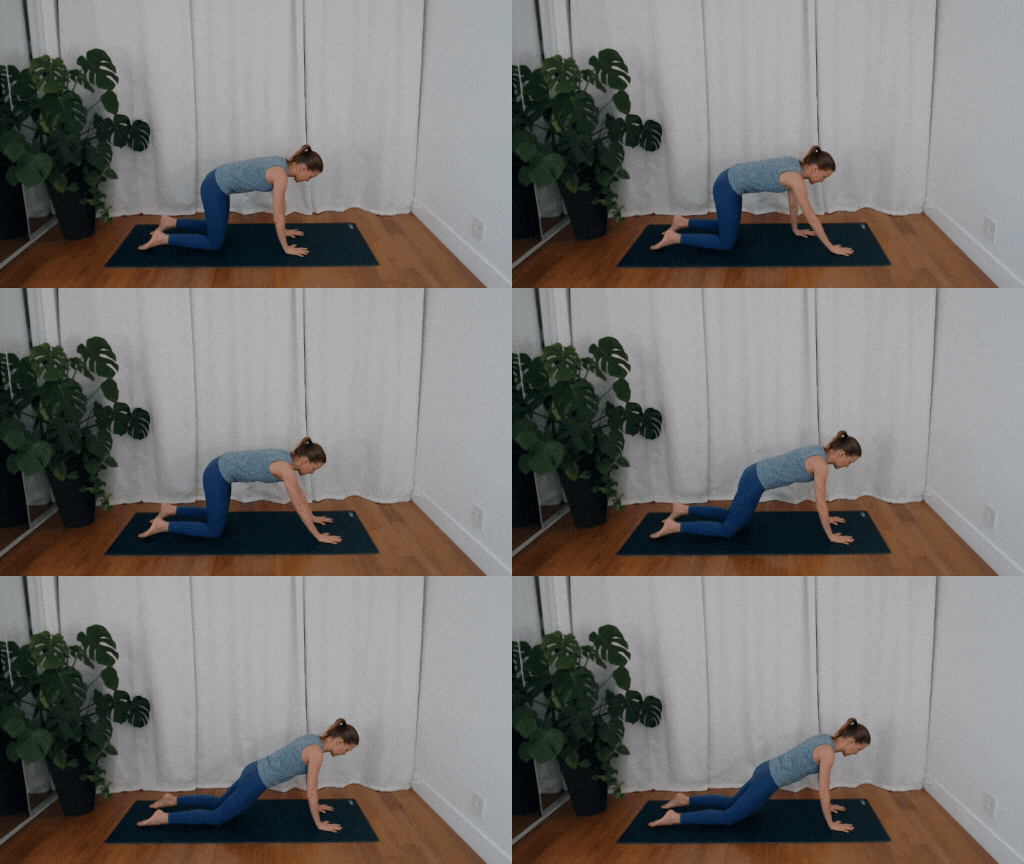
For the first option, start on your hands and knees, then walk your hands about a foot in front of you. Engage your core and shift your shoulders and hips forward until your shoulders are in line with your wrists and you are in straight line from your shoulders, hips and knees.
For the second option, you will come into a full plank momentarily (follow the instructions for option 4), then drop down to your knees.

Start by holding the plank for 20-30 seconds. Remember to Breathe.
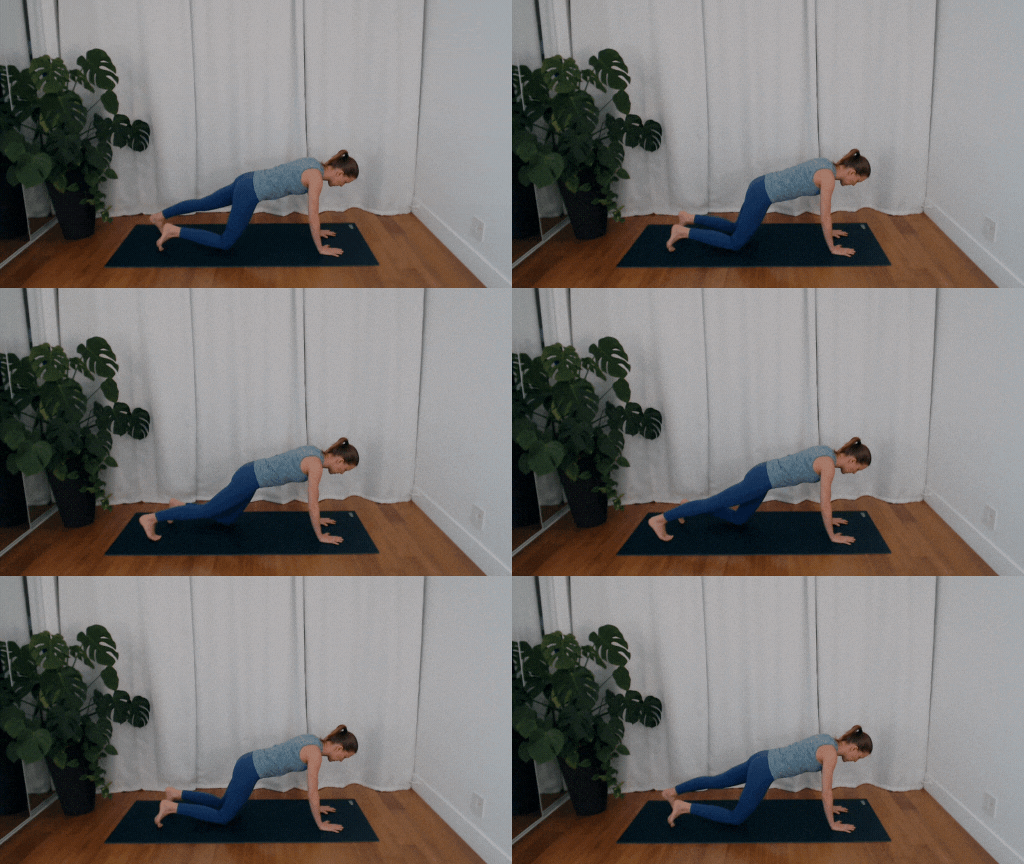
Tip: One way to experiment with added challenge before moving on to a full plank is to alternate lifting one knee off the floor at a time.
4. High Plank
Once you can hold a half plank properly for at least 60 seconds, then you should give the full version a try!
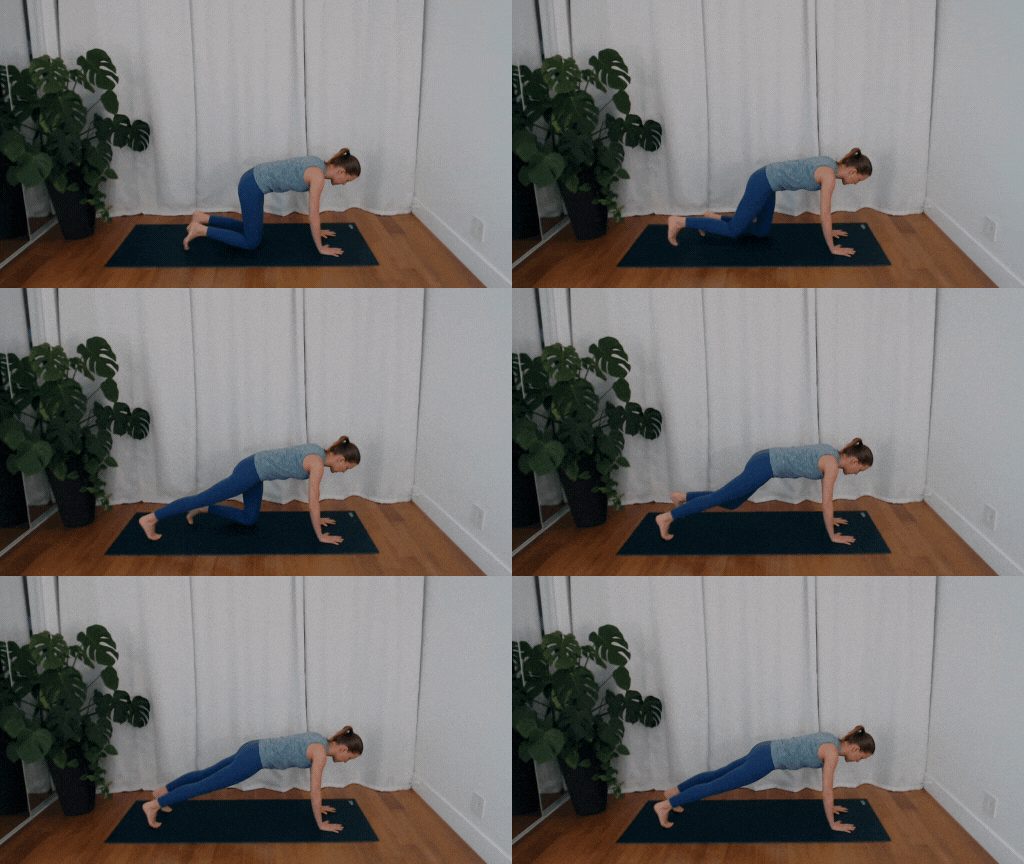
- Start on your hands and knees
- Spread your fingers wide and press down through your whole hand
- Line up your shoulders so they are directly over your wrists
- Engage your abdominal muscles
- Step one foot back, extending your leg while trying to keep the rest of your body stable
- Continue to engage your abdominals while stepping back with your other foot
- Remember to breathe!
- Hold the plank only as long as you are able to keep the proper form, take breaks when needed
Two Options If You Experience Wrist Pain
I experience discomfort in my right wrist due to a ganglion cyst, making it uncomfortable to hold a plank with flat hands for extended periods. Additionally, conditions like arthritis, carpal tunnel syndrome, or past injuries can also contribute to wrist discomfort. Here are two alternative ways to perform planks that are gentler on the wrists.
You can use either of these options in all 4 variations listed above.
1. Forearm Plank
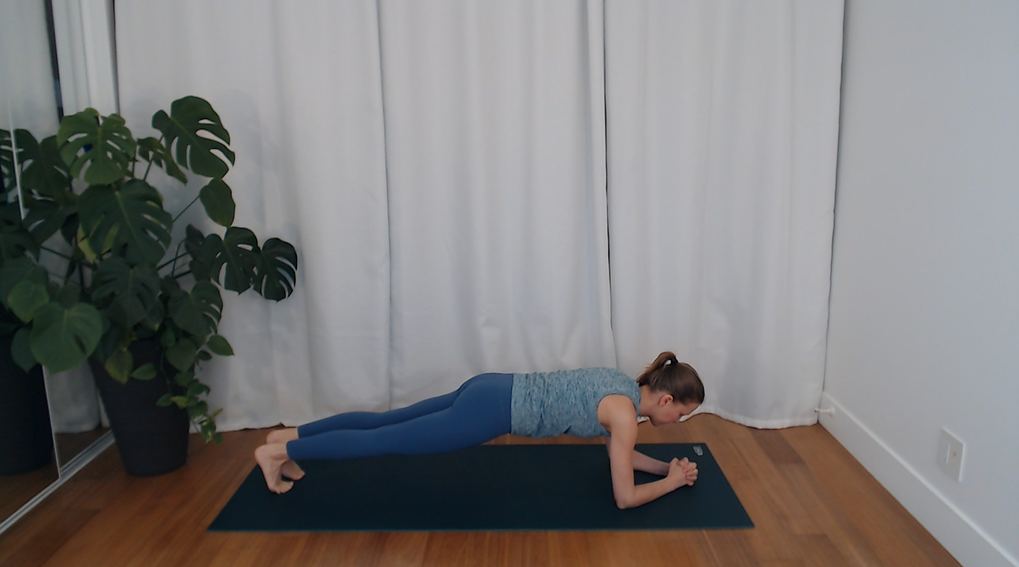

Your shoulders should be in line with your elbows, and your forearms pressing down into the floor. You can either clasp your hands or have them flat with forearms extended forward and palms pressing into the mat.
A forearm plank is also a good way to add variety even if you don’t experience wrist pain.
2. Hold On Your Fists
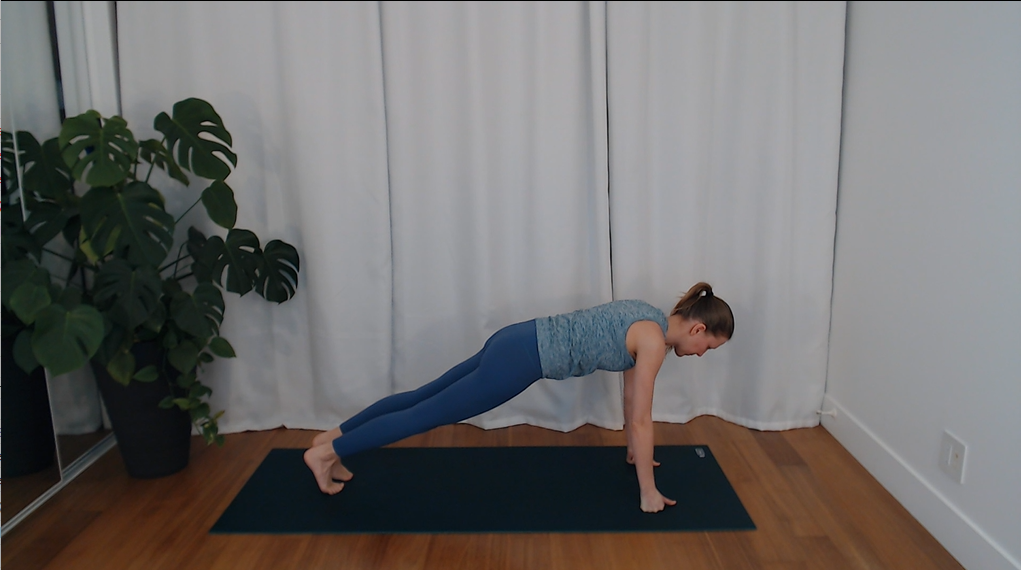
Create fists with each hand, positioning your thumbs on the outside to protect them and prevent excessive strain. Distribute your weight onto your fists while maintaining straight wrists.
With so many options to choose from, I’m sure you will find one that will suit you! Take your time to find the right variation for you. Remember, it’s better to perform a modified version correctly than to rush into a more challenging one with poor form. Be patient and consistent, and with time, you will build your strength!


